Recently I’ve found myself with some time on my hands. Perhaps you’re in the same boat.
I decided to take the advice of a fellow photographer and take on a few quick, fun projects. This is the first one.
I went surfing…
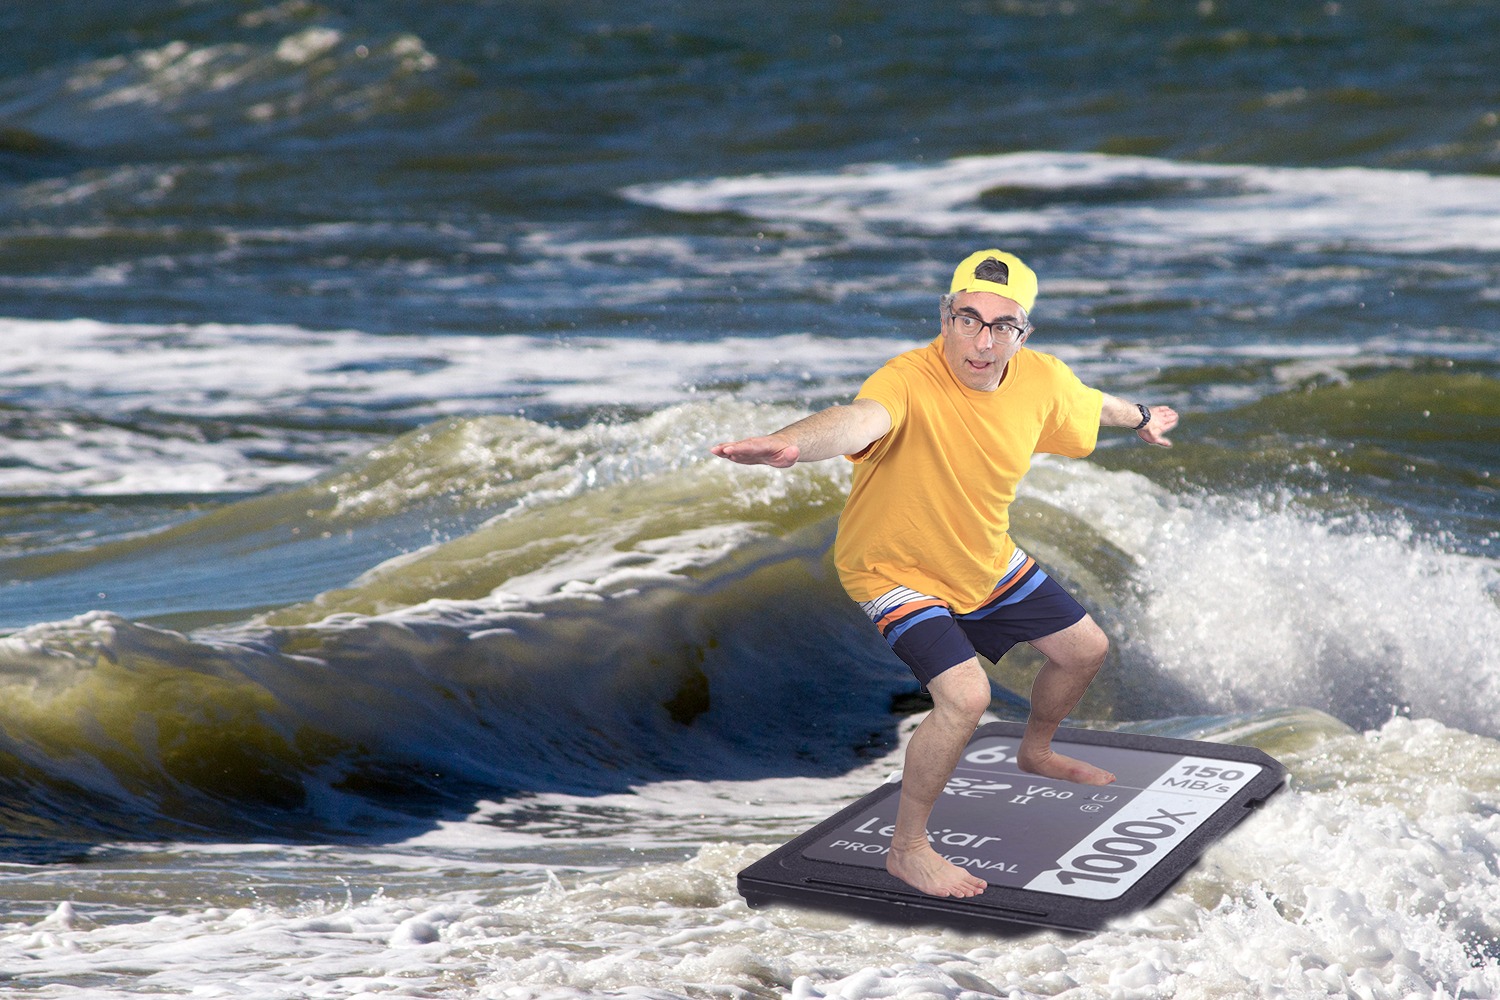
No, seriously, want to know how I put this little montage together? Read on to learn how I stretched and shrank sizes and created a digital surfin’ safari without even leaving my front door!
Step 1: Catch a wave.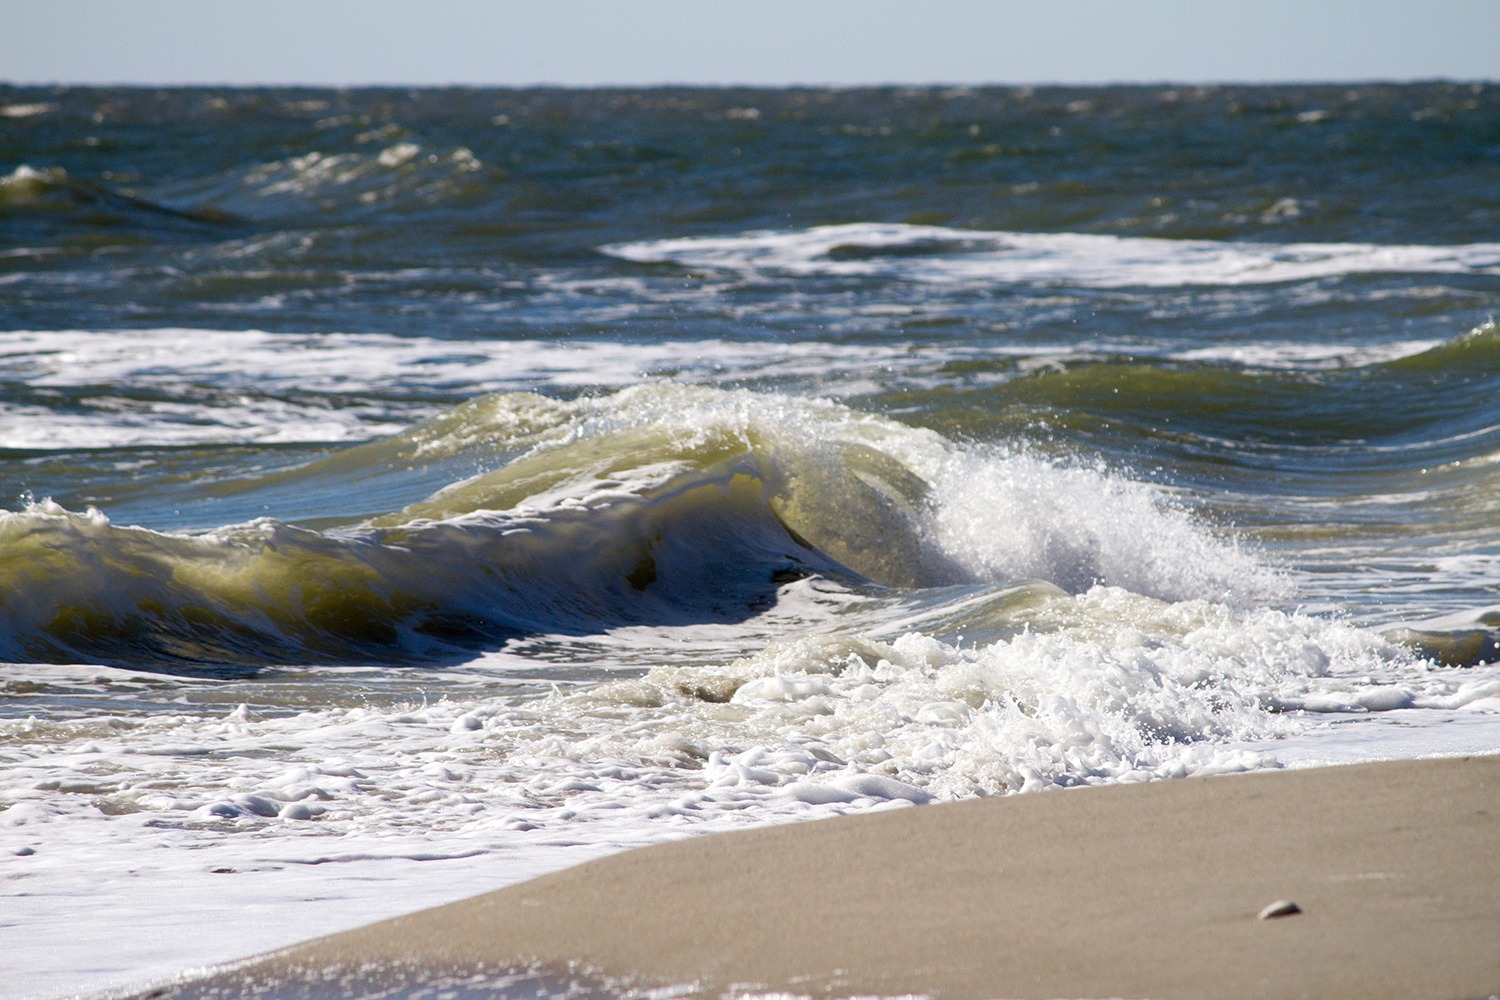
Stock photo: I photographed this wave, which was probably just a few inches high, during a trip a number of years ago to Myrtle Beach, South Carolina.
Step 2: Such a card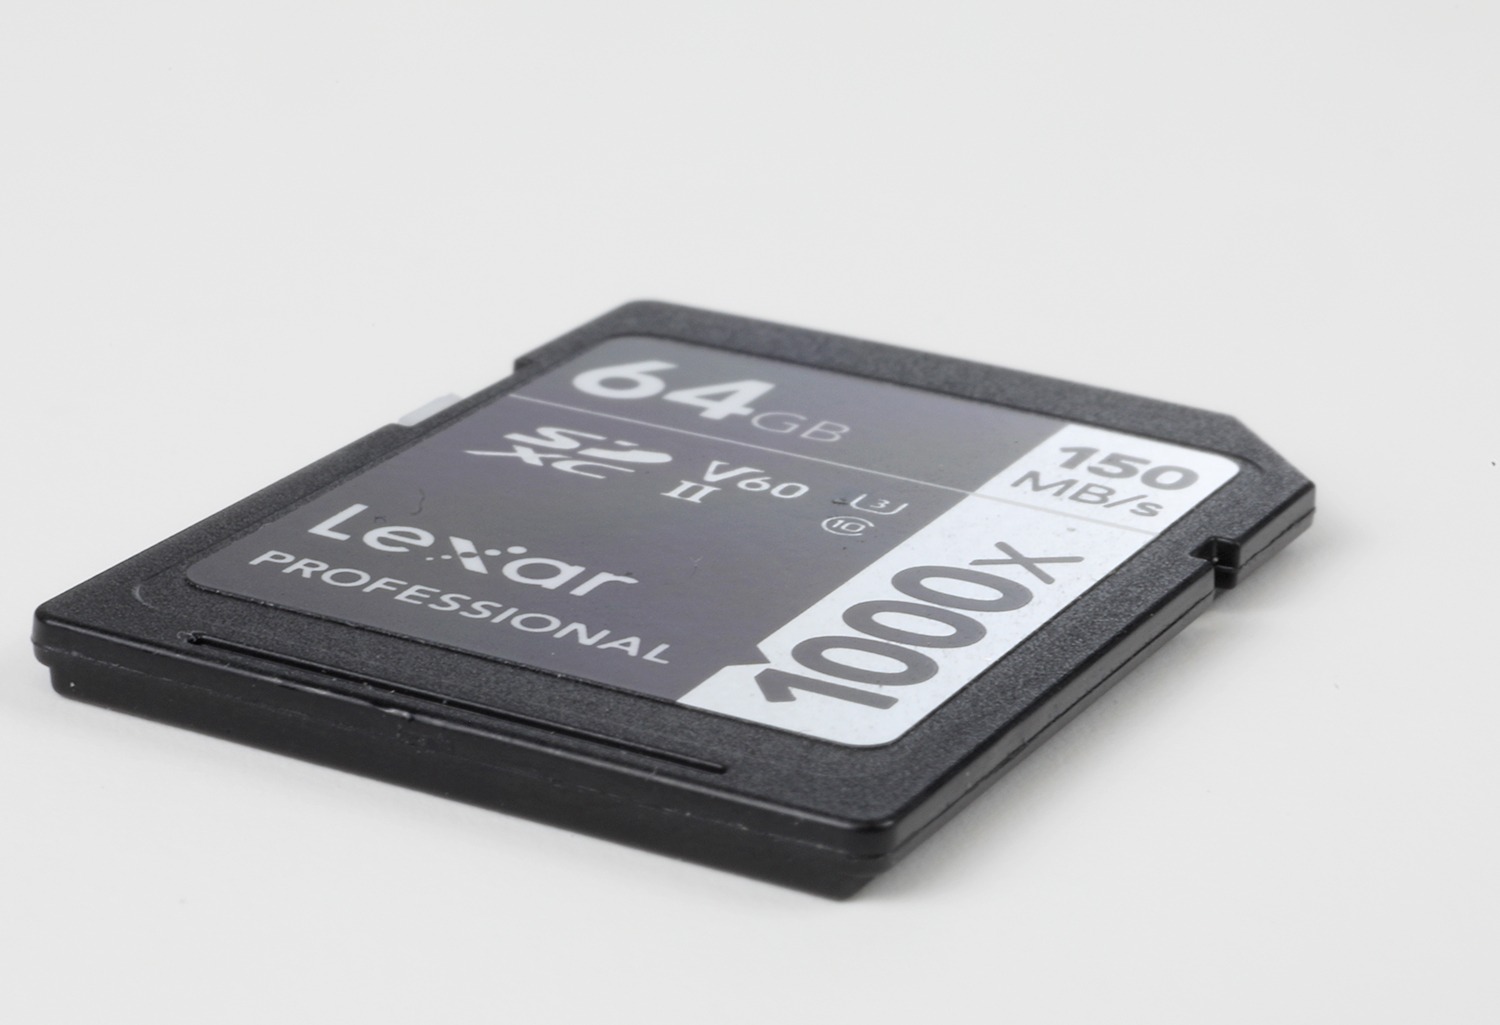
Product shot: I went into my studio and shot a 64GB HD memory card against a neutral white background.
Step 3: I shot myself
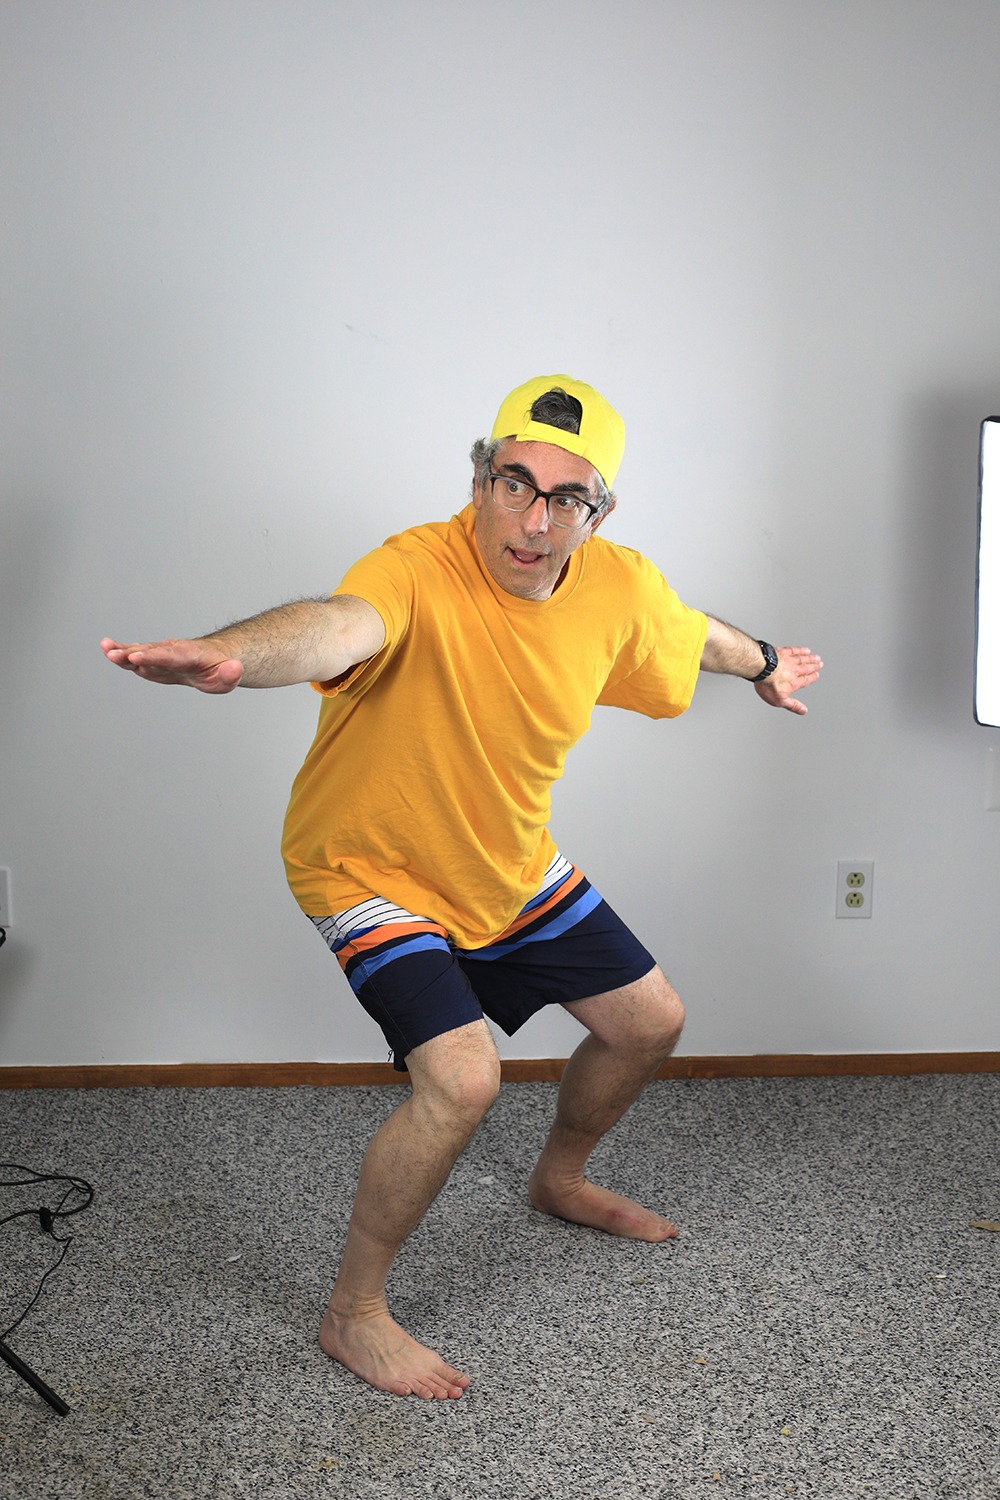
Catch an imaginary wave: Next, I pulled back the lights, donned the closest thing I could get to surfer-dude gear, and after Googling photos of surfers so I got the general idea, I struck a pose. That’s right, this is my basement, not the beach. I played some Beach Boys music during the shoot to get myself in the mood. Point of interest: I’ve gone surfing as much as Brian Wilson: Never.
Step 4: Photoshop time
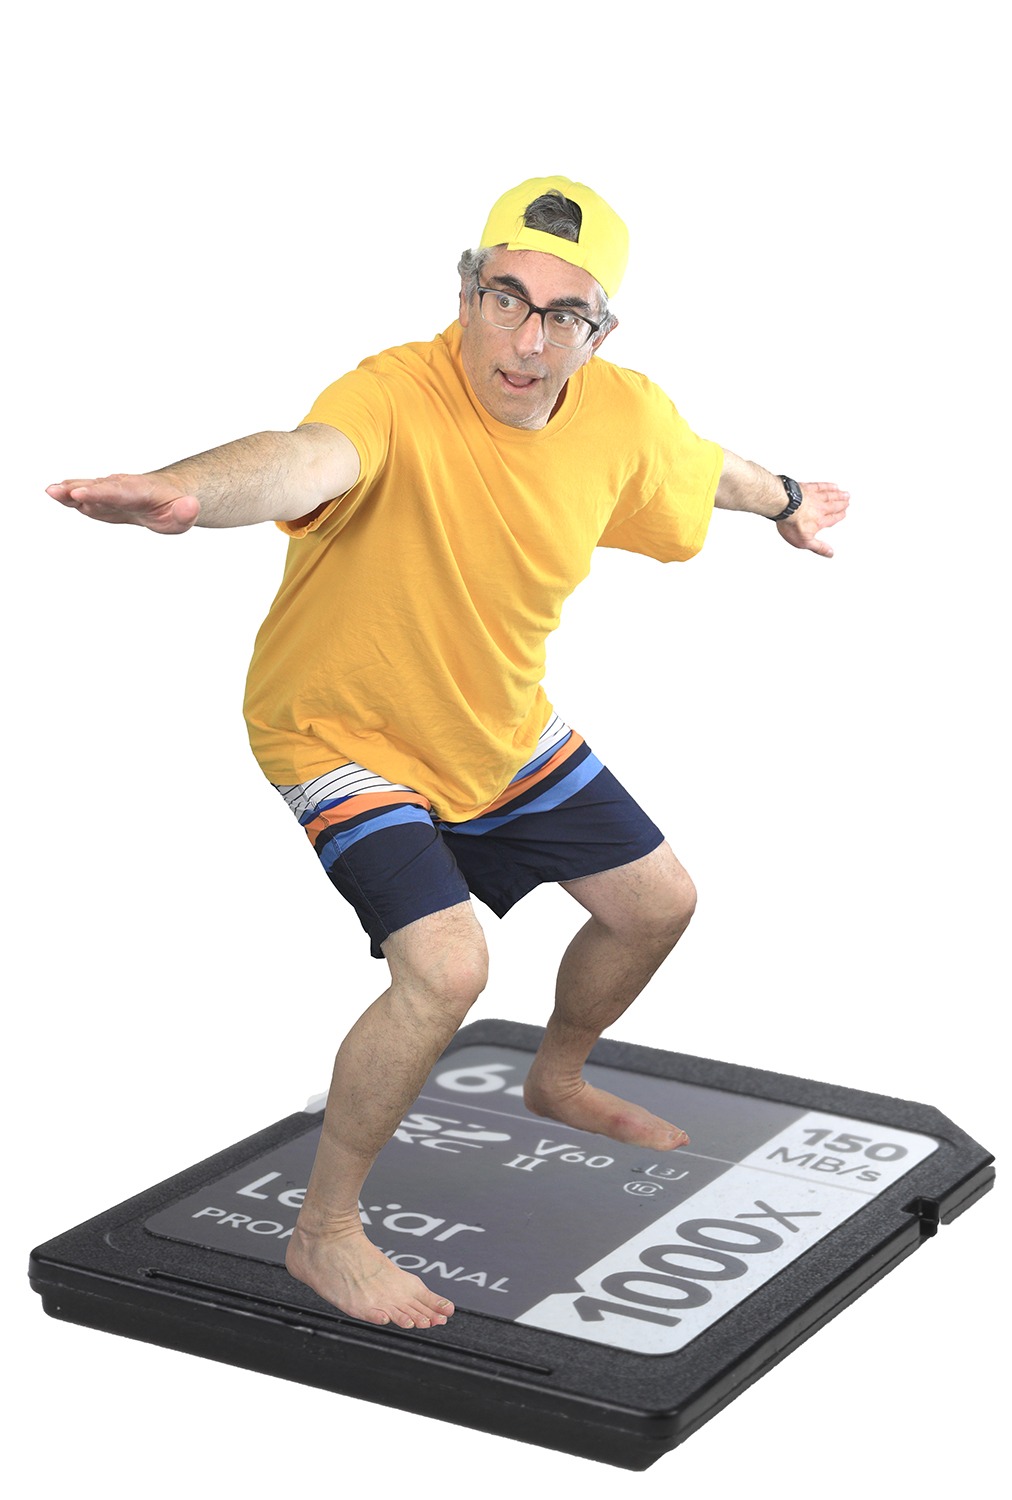
Self-selecting: I carefully selected myself and just as carefully selected the card, then put the two images together. It looks ALMOST realistic. It does, right? Right?
The final step was to re-select the combination of myself and the card, add it to the Myrtle Beach micro-wave, and then play with the positioning and the spot where the card hits the water to make it look sorta realistic-ish.
Once everthing was placed well, I made a few minor color and light adjustments, and it was done. The entire project took me about an hour.
On to the next project!